HomeClimate
FIBARO Z‑Wave Plus Motion Sensor FGMS‑001 ZW5
$49.95$59.95
Ultra smart MultiSensor
PRODUCT HIGHLIGHTS
Detects motion, temperature, light and vibration
Extremely small for discreet and flexible installation
Instant LUX reports - great for Z-Wave light automation
Test network range anytime from the device itself
Pet-immune motion sensor with adjustable sensitivity and trigger interval
Unique LED indicator for motion and temperature events
Created and manufactured in Europe
Built-in tamper protection and advanced signal encryption for more security
1-year warranty
NOTE: Z-Wave gateway controller required - sold separately.
HOW IT WORKS
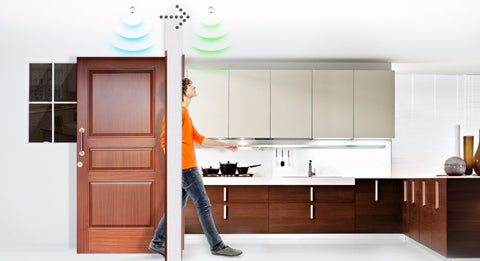
Who knew you could have perfect, multi-tasking functionality in a device only slightly larger than a golf ball? This FIBARO Motion Sensor wastes no space in monitoring motion, temperature, light intensity and even vibration. Once connected to your Z-Wave gateway controller, receive immediate text or email notifications if the sensor detects unexpected movement within your home. Choose a lower motion sensitivity so that pets won’t set off false alarms.
Connect the Motion Sensor with other Z-Wave devices for advanced home automation: Have it trigger a Z-Wave alarm siren. Turn on the welcome lights as soon as you open the front door in the evening. Associate the sensor with your Z-Wave thermostat to automatically turn on the heat if the temperature drops below a certain threshold. For added security, the Motion Sensor features built-in tamper protection, and will notify you if vibrations are detected. As usual, FIBARO has equipped this device with plenty configurable settings to fit your needs and preference (read manual for info).
INSTALLATION
Before mounting the Motion Sensor, include it into your Z-Wave network:
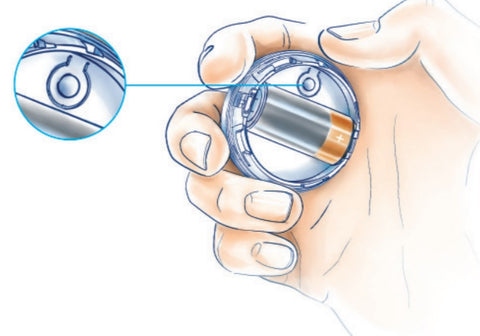
1. Open the device’s cover. 2. Remove the plastic “I’m ready” strip to activate the included battery. 3. Bring the sensor within direct range of your Z-Wave gateway controller. 4. Put your controller into inclusion mode. (See your controller’s user manual for specific instructions, as it differs for each brand) 5. Locate the B-button next to the battery. Press it 3 times quickly. The LED light will turn blue.
6. The sensor will appear on your controller’s device list. If it doesn’t appear, try waking up the Motion sensor by pressing the B-button 3 times quickly. The LED should be blue to confirm it is in Wake Up mode. 7. Once successfully connected, close the plastic cover and ensure it is locked securely.
Now you’re ready to mount the sensor. Choose a location that you would like to monitor. The sensor performs best when installed in the corner of a room or directly across from a door at least 8 feet above ground. It is also recommended to avoid sources of heat, direct light, and drafts.
1. Using the included screw, affix the sensor’s mounting bracket onto a flat surface in the desired location. 2. Wake up the sensor by pressing the B-button 3 times quickly.
3. Insert the sensor into its bracket. 4. Make sure the sensor is operating correctly by ensuring the LED detects motion and is within range of your Z-Wave gateway controller. To test range, press and hold the B-button until LED indicator blinks purple. Press and release the button again and wait for LED indicator displays one of the 4 colors to indicate if the sensor is withing your network's range.