| /


NOTE: Z-Wave gateway controller required - sold separately.
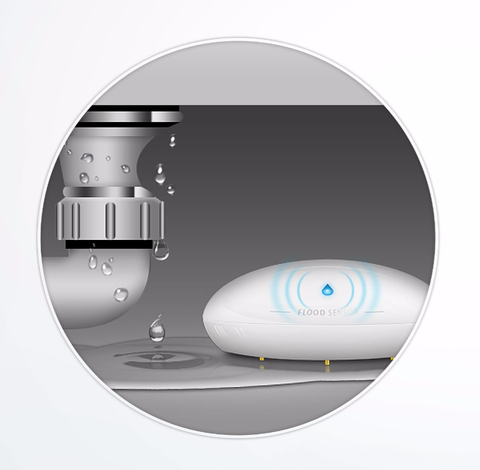
Here is FIBARO's award-winning answer to flood control and protection. It is equipped with gold-plated water-sensing probes and a built-in tilt sensor that detects and reports movement. Once included to your Z-Wave network, receive instant text or email notifications when water is unexpectedly detected.
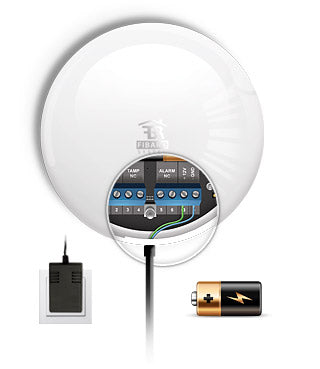
The FIBARO Flood Sensor is highly buoyant, ensuring that it’s at your reach when you need it most. It is also equipped with a built-in temperature sensor, which can notify you of sudden changes in temperature to better maintain your pipes and prevent accidents. And depending on its location, it can be battery or DC powered (12/24 V DC).

The Flood Sensor can be linked up with other Z-Wave devices, allowing for a highly personalized smart home setup. You can trigger a Z-Wave alarm siren as soon as the sensor detects water. Have certain lights turn on automatically to help you navigate emergencies. You may even connect it with a Z-Wave water valve control to shut off the flow of water immediately. The FIBARO Flood Sensor is the smartest investment you can make for your home and loved ones.

Before proceeding with inclusion and mounting, you’ll need to start the device. To do so, twist and open the casing. Remove the plastic battery blocker that reads “I’m ready.” Be sure the battery is placed correctly. You should hear a beep as the LED blinks red.
Next, include the sensor into your Z-Wave network. Simply put your hub into inclusion mode and press the tamper switch button 3 times very quickly. Twist and close the casing.
Choose a location where there is risk of flooding, like the bathroom, kitchen or basement. It must be within range of your Z-Wave gateway controller to ensure effective communication.
To check that the Flood Sensor’s location is within range of your Z-Wave gateway controller, twist and open the casing. Then follow the steps in this video:
If the sensor cannot fit in the desired space, you can install a wired probe (not included) to accommodate smaller spaces. While installing, it is recommended you “wake up” the device by clicking the inclusion button 3 times quickly. Please refer to your user manual for more detailed instructions.
Once the Flood Sensor is included and fully connected to your Z-Wave network, you can mount it onto the flat surface of your choice:
1. Place the sensor onto a surface prone to flooding. All 3 electrodes underneath the sensor should evenly touch the surface.
2. If the sensor will be DC powered, drill holes into the casing and connect the wires according to the wiring diagram provided in your user manual.
3. Twist and close the casing.

If you ever need to factory reset your FIBARO Flood Sensor, just follow these simple instructions:
NOTE: If you don't see your Z-Wave controller on the list above, please contact us before you purchase this product.
Download Quick Start Guide for FIBARO Z-Wave Plus Flood and Temperature Sensor FGFS-101 ZW5
Download the Manual for FIBARO Z-Wave Plus Flood and Temperature Sensor FGFS-101 ZW5 (PDF)
Works well but is surprisingly large compared to the other water leak detector and more $$$.
First off, Zooz customer service/shipping is awesome (helps that I live somewhat close to the HQ in NJ).
Recently installed one of these under my water heater. Woke up one morning to an alert that there was a leak, which was odd because the water heater is less than a year old. Went downstairs and turns out the hose on my whole house humidifier had come loose and water was all over the basement floor. Was easy to clean up and minimal damage caused, but sure glad I had these!
Product was delivered quickly and worked as advertised.
Gives me piece of mind, but the batteries drain pretty fast.
This unit paired easily with my Abode gateway. When tested, it did set off a water alarm and Abode successfully shut off my main water supply.
It is not very loud, but it does its job. The built-in signal strength indicator is handy.
